Topic: The topic of this lesson will be landforms. This will be the last lesson on landforms before we move on to the next topic of the unit and so we will use this lesson to review and focus on the specific characteristics of landforms and the differences between them.
Rationale: This lesson will be the last day we spend on landforms. Therefore, we would like the students to review everything they have already learned on this topic and present what they have learned in their expert groups to their classmates.
Prior Knowledge: For this lesson, the students will need to use all of the prior knowledge they have gotten from their previous lessons on landforms. Some misconceptions the students may bring to this lesson could include them not knowing that landforms are not just the ones that are famous, they also include landforms that are in their own area. They may also believe that each landform may only look a certain way and there is no variation in their appearance. For example, a lake must be a circular shape and a river must form in a straight line. They may not realize that lakes can be odd shapes not just circles and that rivers can be windy or crooked and are not always completely straight. In the activity where the students must include a picture of the landform somewhere in the written name, they will definitely have to rack their imaginations to think of ways they can incorporate a picture into their written words.
NJ Standards:
6.6.B.1 Describe the physical features of places and regions on a simple scale.
6.6.B.2 Describe the physical and human characteristics of places.
Objectives
Students will have sufficient knowledge of each of the landforms we have discussed so far in the unit.
Assessments
Observe the students while they complete the expert groups and present their findings.
Hook: I will present to the students some exemplary work that we saw yesterday and encourage their good behavior. I will tell the students that they will have fifteen minutes to finish up their expert groups.
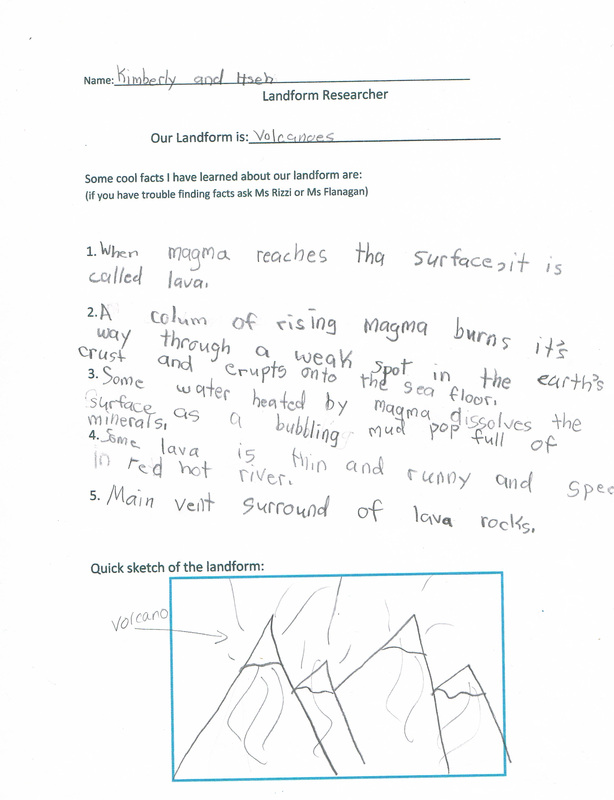
Activities, Questions, Examples, and Groups: To begin the lesson, we will bring the students down to the carpet. We will call them down based on who is sitting quietly and ready. The students have assigned seats on the carpet. Each group will have time to finish up their expert groups. Then each group will present to the rest of the class on their landform. For the presentations, each student will talk about what they learned about their landform from doing their specific job. We will guide their presentation with questions. To present the illustrator for example, will talk about the picture they drew (most likely of the landform) and talk about the specific details of the landform that they included in the picture.
Closure: Once the students are sitting quietly at their desks, we will give each student a blank sheet of paper and ask them to draw the landforms in their names. This is essentially drawing the landform in the letters that make up its name. (See picture)
Individualization: See about expert groups from Day 2.
Follow-Up Activities: This is the last lesson on landforms so a follow-up lesson could include more review and could also use a written test to assess the students. Extension lessons or activities could focus on how we use these landforms (water from rivers, mountains as shelters, etc.) and some things we could do to make sure these landforms are preserves (not polluting water, stop knocking down landforms like mountains to build on the land, etc.)
Rationale: This lesson will be the last day we spend on landforms. Therefore, we would like the students to review everything they have already learned on this topic and present what they have learned in their expert groups to their classmates.
Prior Knowledge: For this lesson, the students will need to use all of the prior knowledge they have gotten from their previous lessons on landforms. Some misconceptions the students may bring to this lesson could include them not knowing that landforms are not just the ones that are famous, they also include landforms that are in their own area. They may also believe that each landform may only look a certain way and there is no variation in their appearance. For example, a lake must be a circular shape and a river must form in a straight line. They may not realize that lakes can be odd shapes not just circles and that rivers can be windy or crooked and are not always completely straight. In the activity where the students must include a picture of the landform somewhere in the written name, they will definitely have to rack their imaginations to think of ways they can incorporate a picture into their written words.
NJ Standards:
6.6.B.1 Describe the physical features of places and regions on a simple scale.
6.6.B.2 Describe the physical and human characteristics of places.
Objectives
Students will have sufficient knowledge of each of the landforms we have discussed so far in the unit.
Assessments
Observe the students while they complete the expert groups and present their findings.
Hook: I will present to the students some exemplary work that we saw yesterday and encourage their good behavior. I will tell the students that they will have fifteen minutes to finish up their expert groups.
Activities, Questions, Examples, and Groups: To begin the lesson, we will bring the students down to the carpet. We will call them down based on who is sitting quietly and ready. The students have assigned seats on the carpet. Each group will have time to finish up their expert groups. Then each group will present to the rest of the class on their landform. For the presentations, each student will talk about what they learned about their landform from doing their specific job. We will guide their presentation with questions. To present the illustrator for example, will talk about the picture they drew (most likely of the landform) and talk about the specific details of the landform that they included in the picture.
Closure: Once the students are sitting quietly at their desks, we will give each student a blank sheet of paper and ask them to draw the landforms in their names. This is essentially drawing the landform in the letters that make up its name. (See picture)
Individualization: See about expert groups from Day 2.
Follow-Up Activities: This is the last lesson on landforms so a follow-up lesson could include more review and could also use a written test to assess the students. Extension lessons or activities could focus on how we use these landforms (water from rivers, mountains as shelters, etc.) and some things we could do to make sure these landforms are preserves (not polluting water, stop knocking down landforms like mountains to build on the land, etc.)
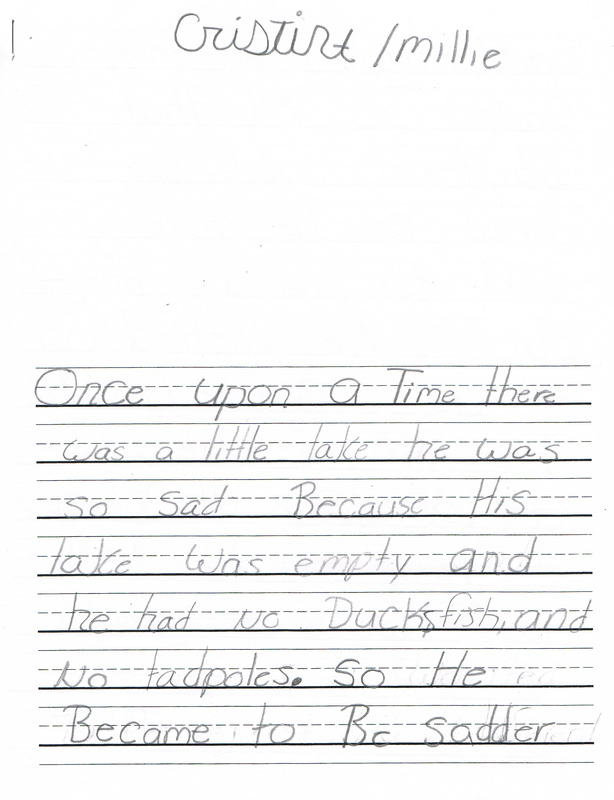
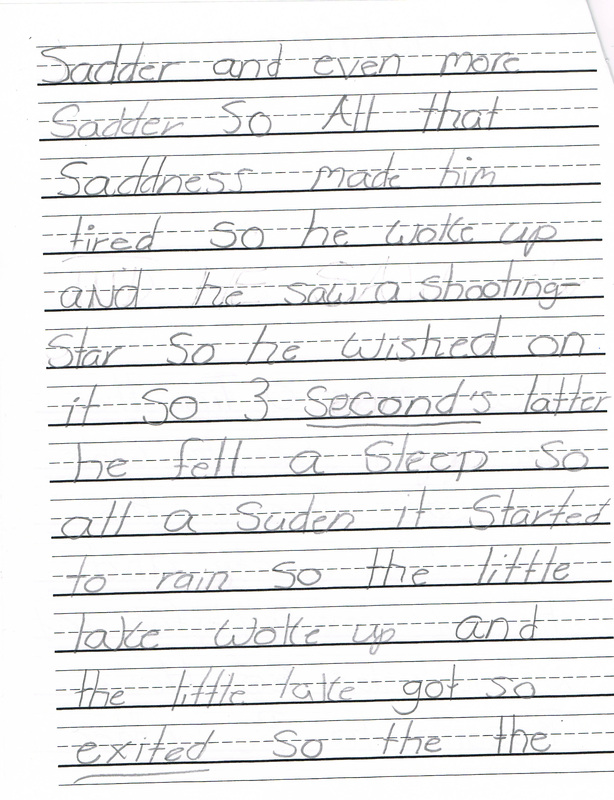
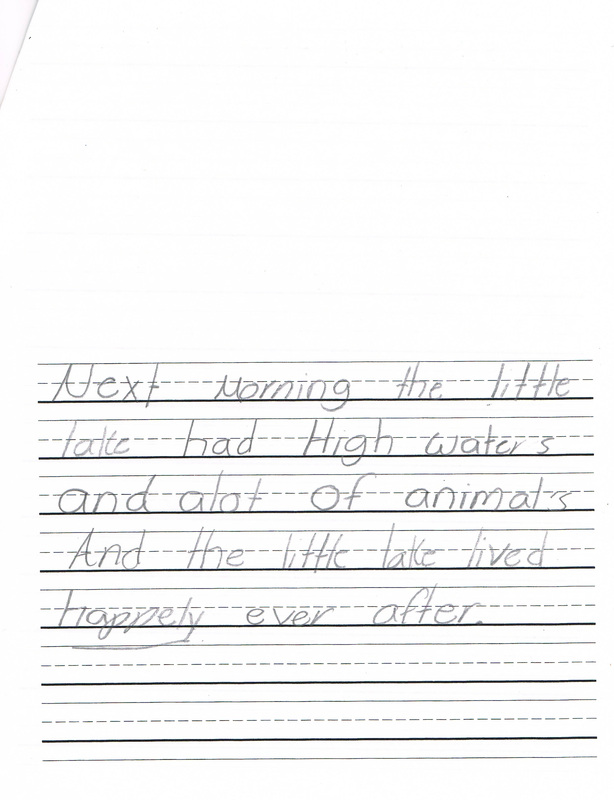
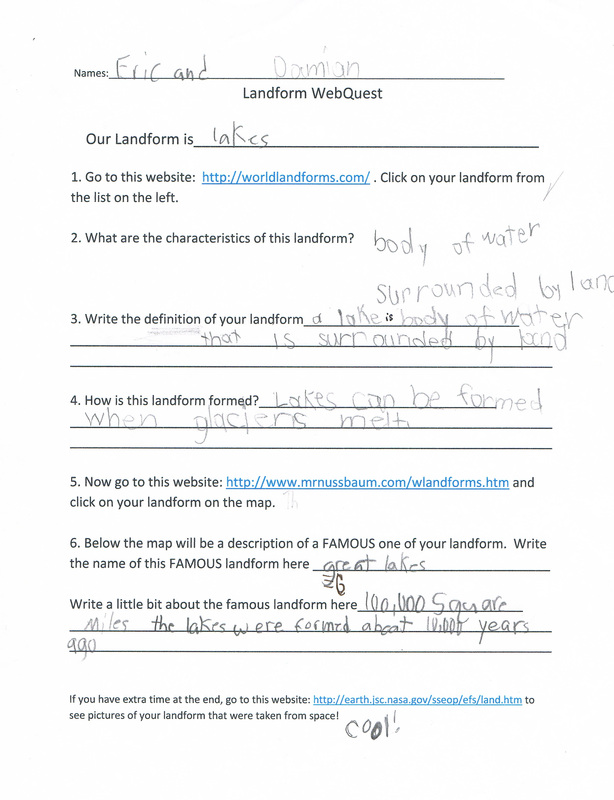
Student Work: